
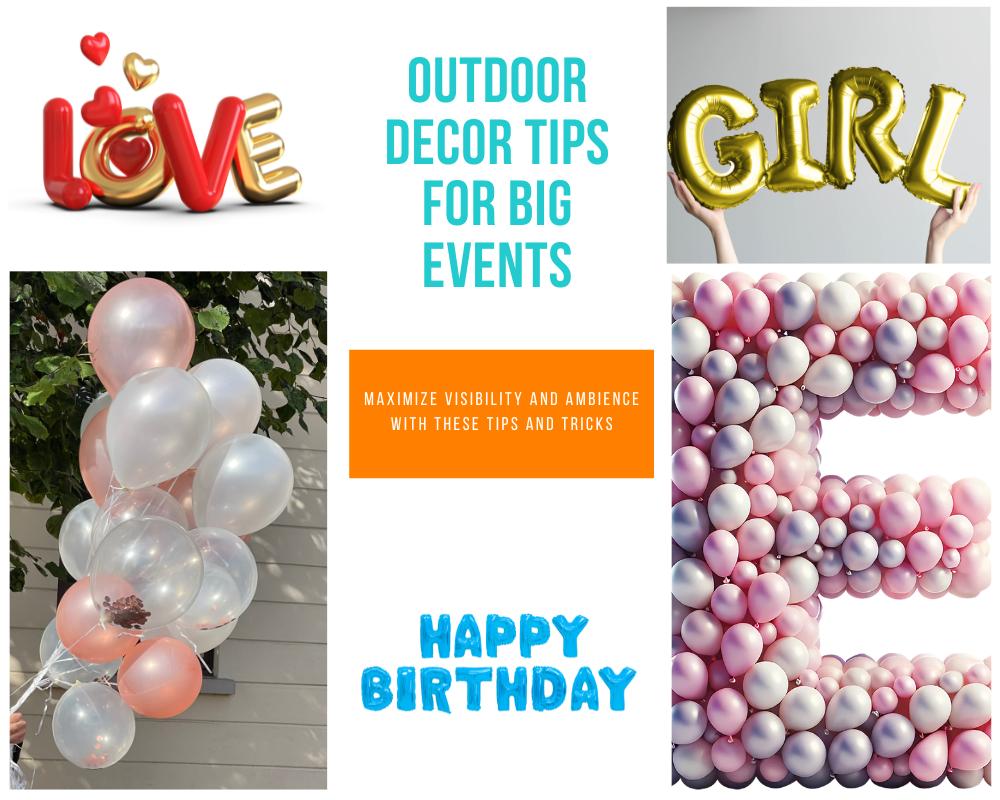
Inflatable letters can transform an ordinary outdoor event into something people actually remember. Whether you’re celebrating a birthday, hosting a corporate gathering, or decorating a wedding reception, the right setup makes all the difference between a polished display and a frustrating last-minute scramble. But getting inflatable letters to look great outside takes more than just blowing them up and placing them on the ground. Wind, uneven terrain, and lighting all come into play. This guide walks you through every step, from choosing the right letters to creative display ideas that get people talking.
Choosing the Right Inflatable Letters for Your Event
Not every inflatable letter is built for outdoor use. Before you order or rent, think carefully about the event environment and what the letters need to withstand.
For outdoor settings, you need letters made from durable, weather-resistant materials that can handle sunlight, light rain, and moderate wind. Compared with smaller party letters or indoor photo props, large inflatable letters from Custom Inflatables or other similar providers are better suited for open spaces where the display needs to stand out from a distance. Size matters too, because letters that look impressive in a studio can appear much smaller in a field, stadium, or against a large venue backdrop.
Think about color and finish as well. Gold and silver metallic letters photograph beautifully in natural light, while white and pastel tones work well for daytime events. If your event runs into the evening, consider letters that pair well with LED lighting strips or that come pre-lit.
Also, check whether the letters come with stakes, sandbags, or tethering kits. Outdoor use without proper anchoring accessories can quickly become a problem.
How to Prepare Your Outdoor Space Before Setup
Good preparation saves you from major headaches on the day of the event. Start by visiting the location ahead of time. Walk the area where you plan to place the letters and look for potential issues like slopes, soft ground, gravel patches, or sprinkler heads that could interfere with stakes.
Measure the space carefully. Lay out the full word or phrase on the ground using tape or rope to check the spacing before inflation. This small step prevents the common mistake of realizing your display doesn’t fit after everything is already inflated.
Clear the area of debris, loose stones, and sharp objects. These can puncture letter bases or create tripping hazards around your display. If the ground is particularly soft after rain, place plywood boards or interlocking foam mats underneath each letter base for added stability.
Check the weather forecast for the event day and the day before. Even a moderate wind forecast should prompt you to have extra anchoring supplies on hand. Preparation at this stage directly affects how smooth the actual setup process is.
Step-by-Step Instructions for Setting Up Inflatable Letters Outdoors
Inflating, Positioning, and Securing Each Letter
Start by unrolling each letter flat on the ground and checking for any damage or air valve issues before you connect the blower. Lay all letters out in the correct order so you don’t end up re-inflating out of sequence.
Connect the blower to the air valve and let the letter fill. Most standard inflatable letters take between two and five minutes to reach full inflation. Do not overinflate. An overfilled letter becomes rigid, harder to position, and more likely to seam-stress under wind pressure.
Once inflated, stand each letter upright and check for lean. Most letters have a built-in base flap or foot. Press these down firmly and stake through the grommets into the ground. Use rubber mallets for stakes on firmer ground to avoid bending them.
Position the letters in sequence and step back to check alignment. Adjust spacing so the letters look evenly spaced from the audience’s perspective, not from directly above. Finally, run a tether line through the top anchor points of each letter and tie it to a fixed structure or to ground stakes placed farther back. This secondary line is your backup against sudden gusts.
Anchoring and Stabilizing Letters Against Wind and Weather
Wind is the biggest threat to any outdoor inflatable display. Even letters that feel stable in calm air can shift, tilt, or topple when a gust arrives. So take anchoring seriously from the start.
For grassy or dirt surfaces, ground stakes are your first line of defense. Push stakes through the base grommets at a 45-degree angle rather than straight down. This angle gives the stake far greater resistance against pulling forces. For harder surfaces like concrete or pavement, sandbags placed on the base flaps are the standard solution. Use at least one sandbag per letter base flap, and two for larger letters.
If your event is in an area prone to afternoon winds, add a rear tether system. Drive additional stakes about three feet behind each letter and connect them with rope or bungee cord through the letter’s top or rear anchor loops. This rear pull keeps letters from leaning forward.
For multi-hour events or overnight outdoor displays, check the letters every few hours. Air pressure can drop slightly as temperatures change, and stakes can shift in softening ground. A quick re-inflation and stake re-check takes only a few minutes and protects your setup from collapsing at the wrong moment.
Creative Display Ideas to Elevate Your Outdoor Setup
Once your inflatable letters are stable and properly anchored, the real fun begins. The placement and styling of your display can turn a simple word into a genuine focal point.
Try framing your letters with floral arrangements, balloon clusters, or potted plants at the base. This grounds the display visually and adds depth to photos. For evening events, stake string lights or LED spotlights in front of or behind the letters to create a glowing effect that photographs well after dark.
Consider elevation if the terrain allows. Placing letters on a low platform or a level patch of raised ground makes them visible from a greater distance and gives your display a more intentional, stage-like quality.
For long words or phrases, use a slight curve in the layout rather than a perfectly straight line. A gentle arc creates a more dynamic composition and fills a circular or wide venue space more naturally.
You can also mix letter sizes for visual interest. Use larger letters for key words and slightly smaller ones for connecting words. This hierarchy draws the eye naturally and keeps the message clear even from a distance.
Why Inflatables Work
Setting up inflatable letters outdoors doesn’t have to be stressful. With the right preparation, solid anchoring, and a few thoughtful styling choices, your display can look polished and hold steady throughout the entire event. Start with quality letters, respect the wind, and take the time to lay everything out before inflation. Do that, and your setup will be one less thing to worry about on event day.